How to get started?
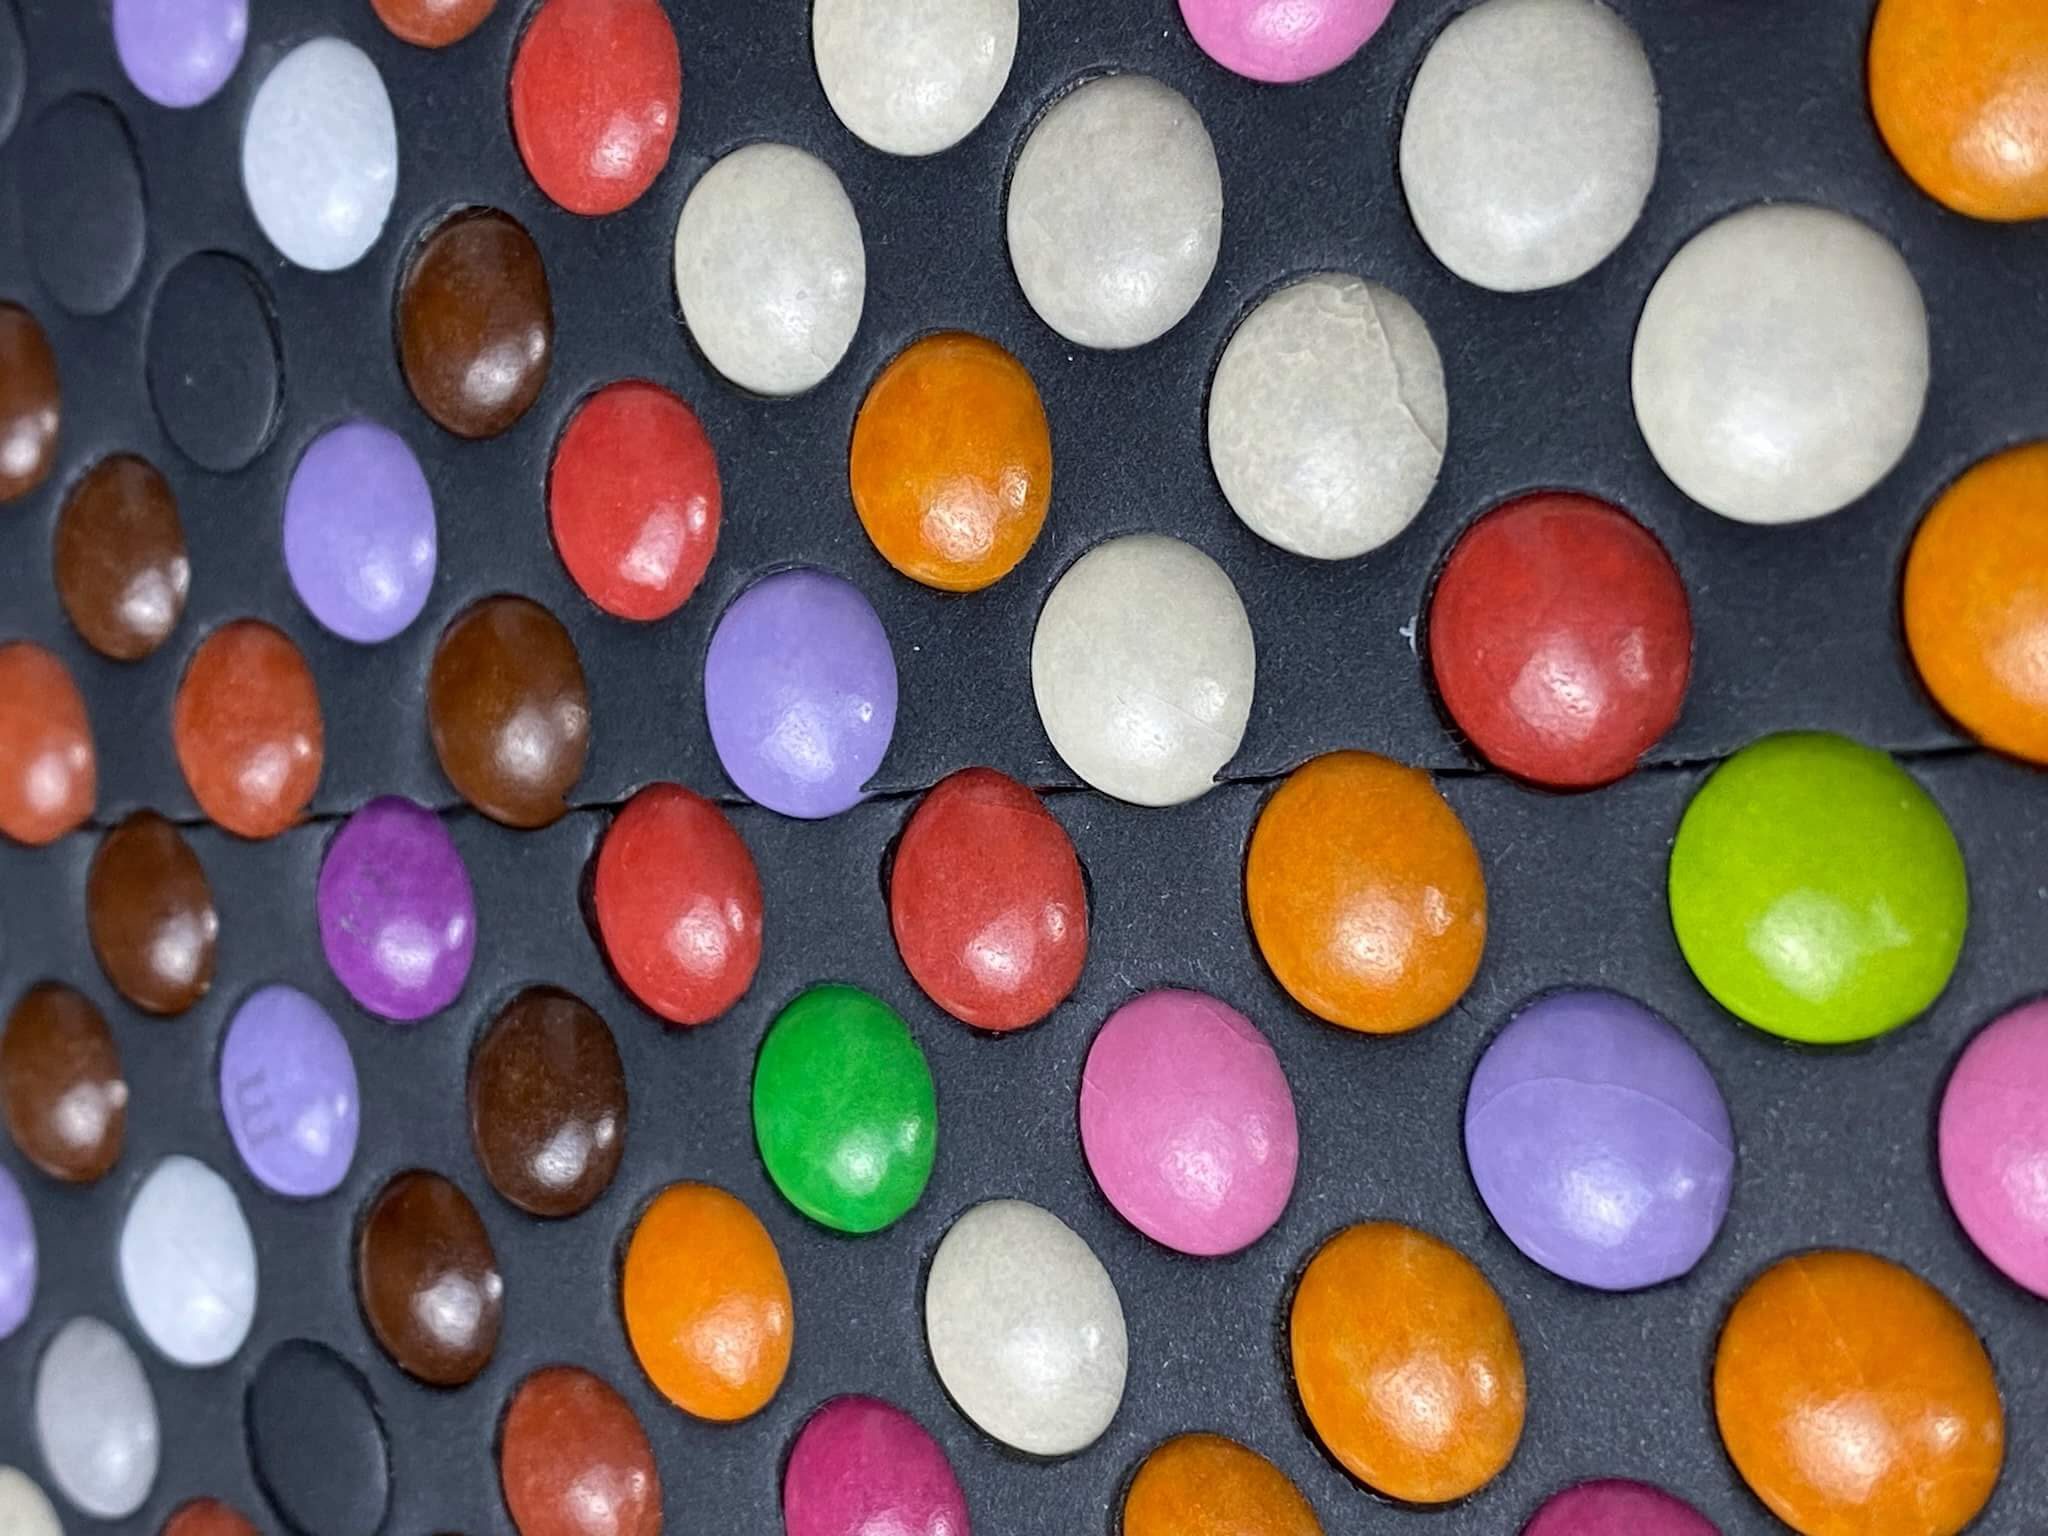
Experience exciting creativity in the world of large, medium, small or mini-sized portraits, original works and well-known artistic masterpieces!
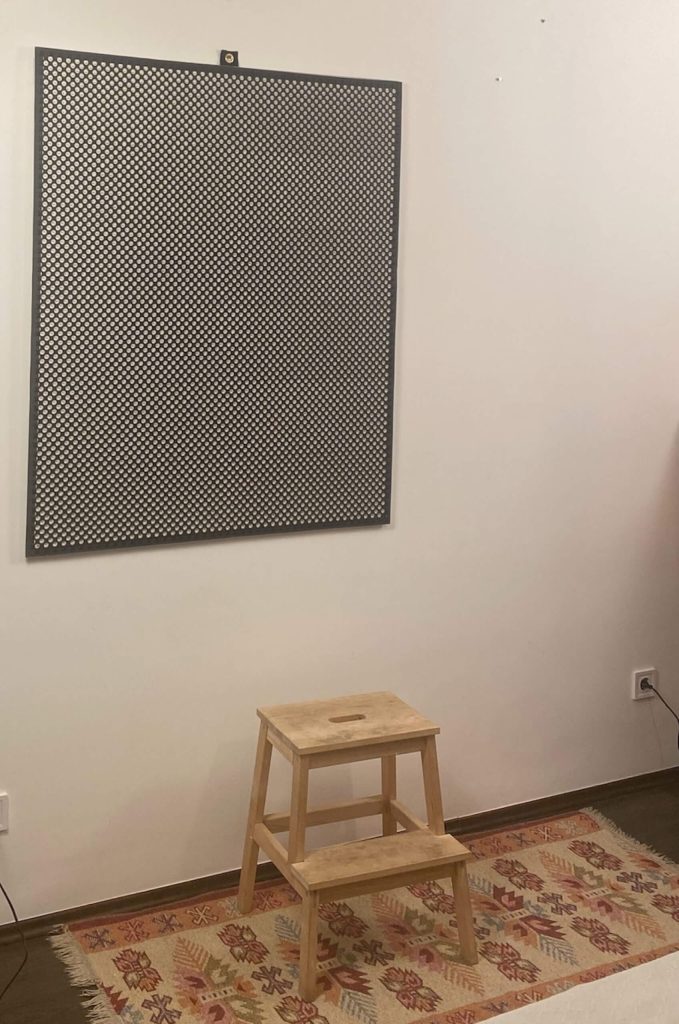
In order to be able to create the works, it is worth placing the frame vertically on the wall. When lying horizontally, it is difficult to reach their middle part, and we could be forced to bend painfully for a long time. That's why we recommend that you place the pictures vertically, even when empty, or temporarily hang them up anywhere, and then start the exciting process of displaying them!
Be careful when displaying so that the picture grid touches the wall everywhere. This is key to the correct insertion of the dressings, which is achieved by gentle pressure.
Place a soft rug or towel on the floor under the frame hanging on the wall. During unloading, sometimes a dragee will fall out of your hand, so they don't break.
When ordering small portraits and mini-pictures, you have more freedom in placement! You can easily lay them horizontally on a table, so you decide which direction is more convenient for you: horizontally or vertically. Remember, comfort is in your hands!
In the case of these smaller works, the choice is freer, but even in the case of a horizontal arrangement, make sure that the picture grid touches the supporting surface everywhere, such as the table top. During unloading, a little pressure is needed here as well, with which the dragees snap into the holes. Proper support of the table guarantees a successful and enjoyable creative process!
Important advice: If possible, medium, large and giant pictures are hung in their final place. If they do have to be moved, it should be done with great care, preferably keeping the vertical position. Adding sugar increases their weight, and when the picture is tilted, the cardboard backing can unfortunately break.
The preparation process is similar for both methods

1
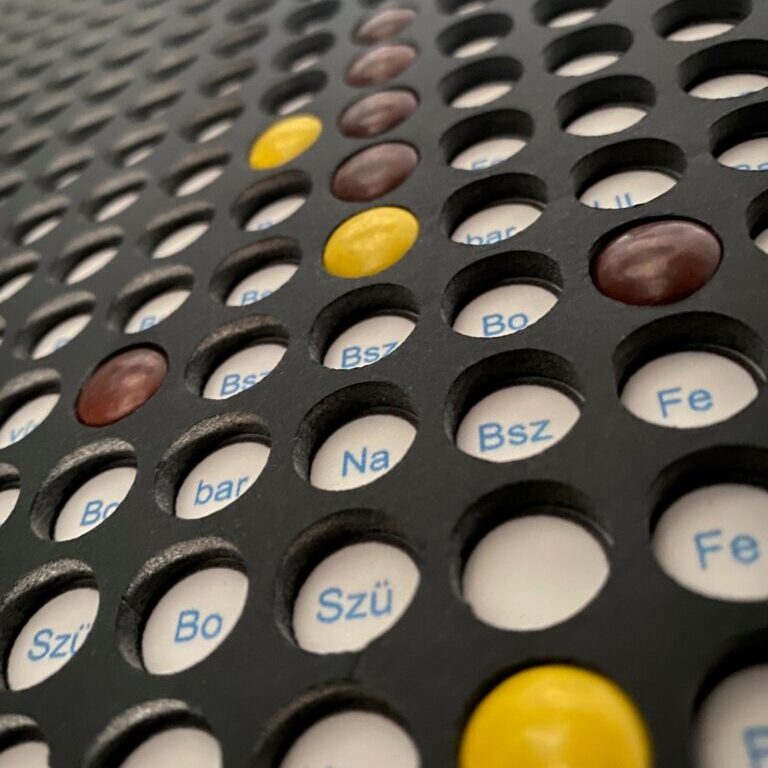
You read the color code from the label of the given round hole

2
You can find the code on the dragee bag to see what color dragee it is.
3
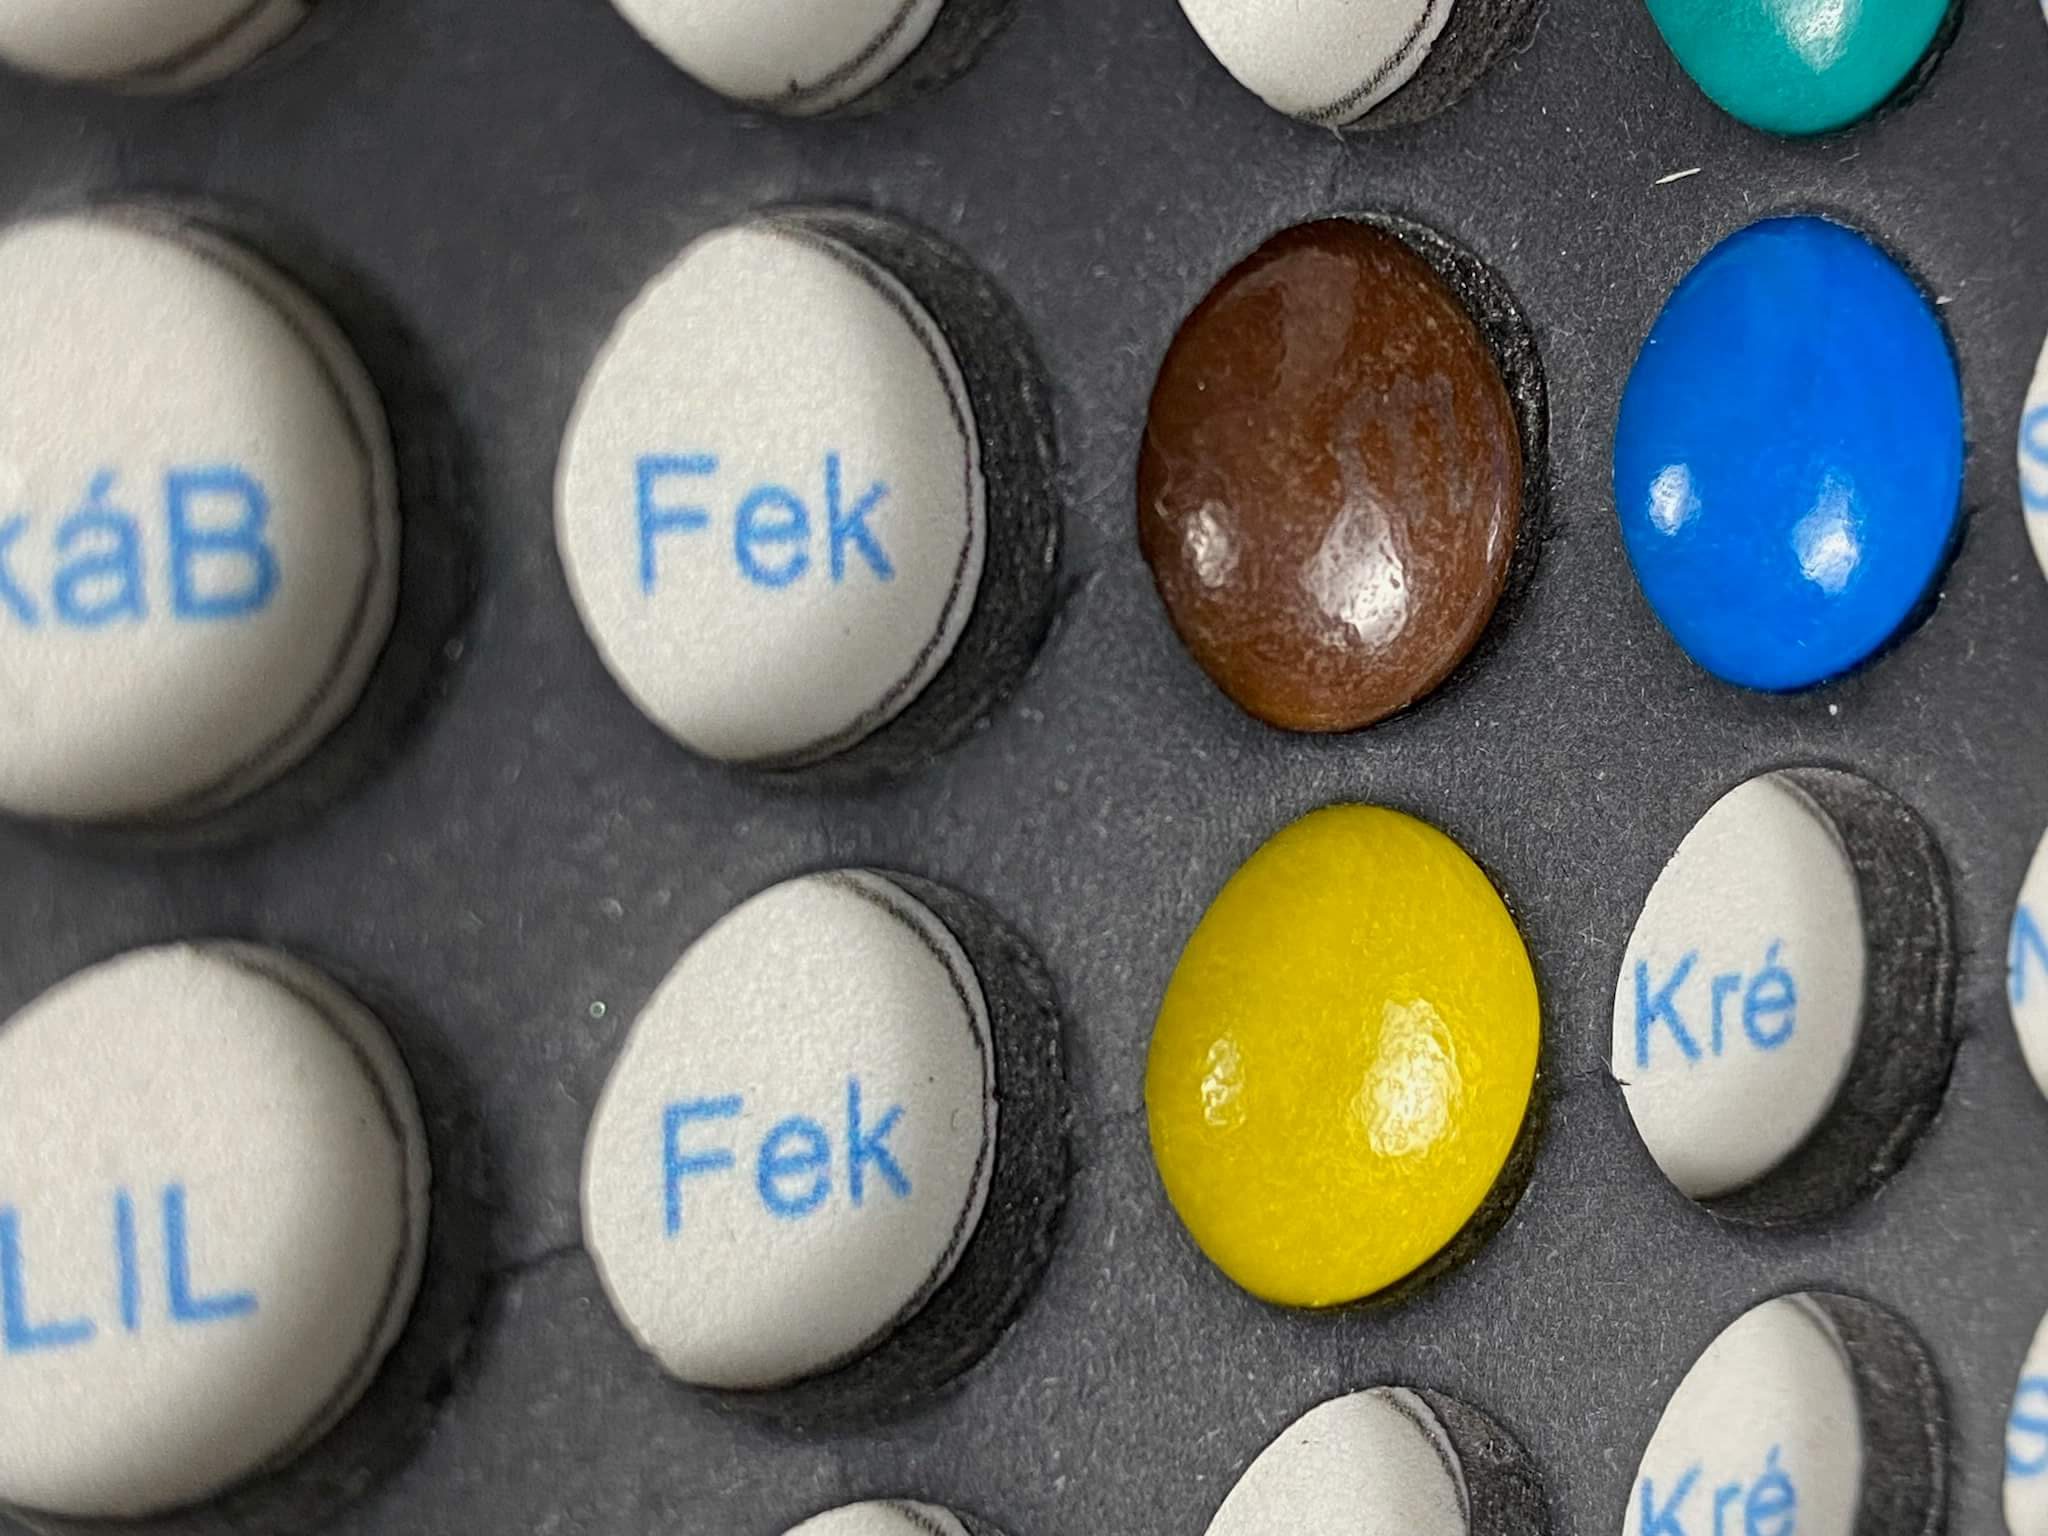
You take out the correct colored dragee.
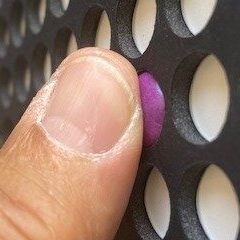
4
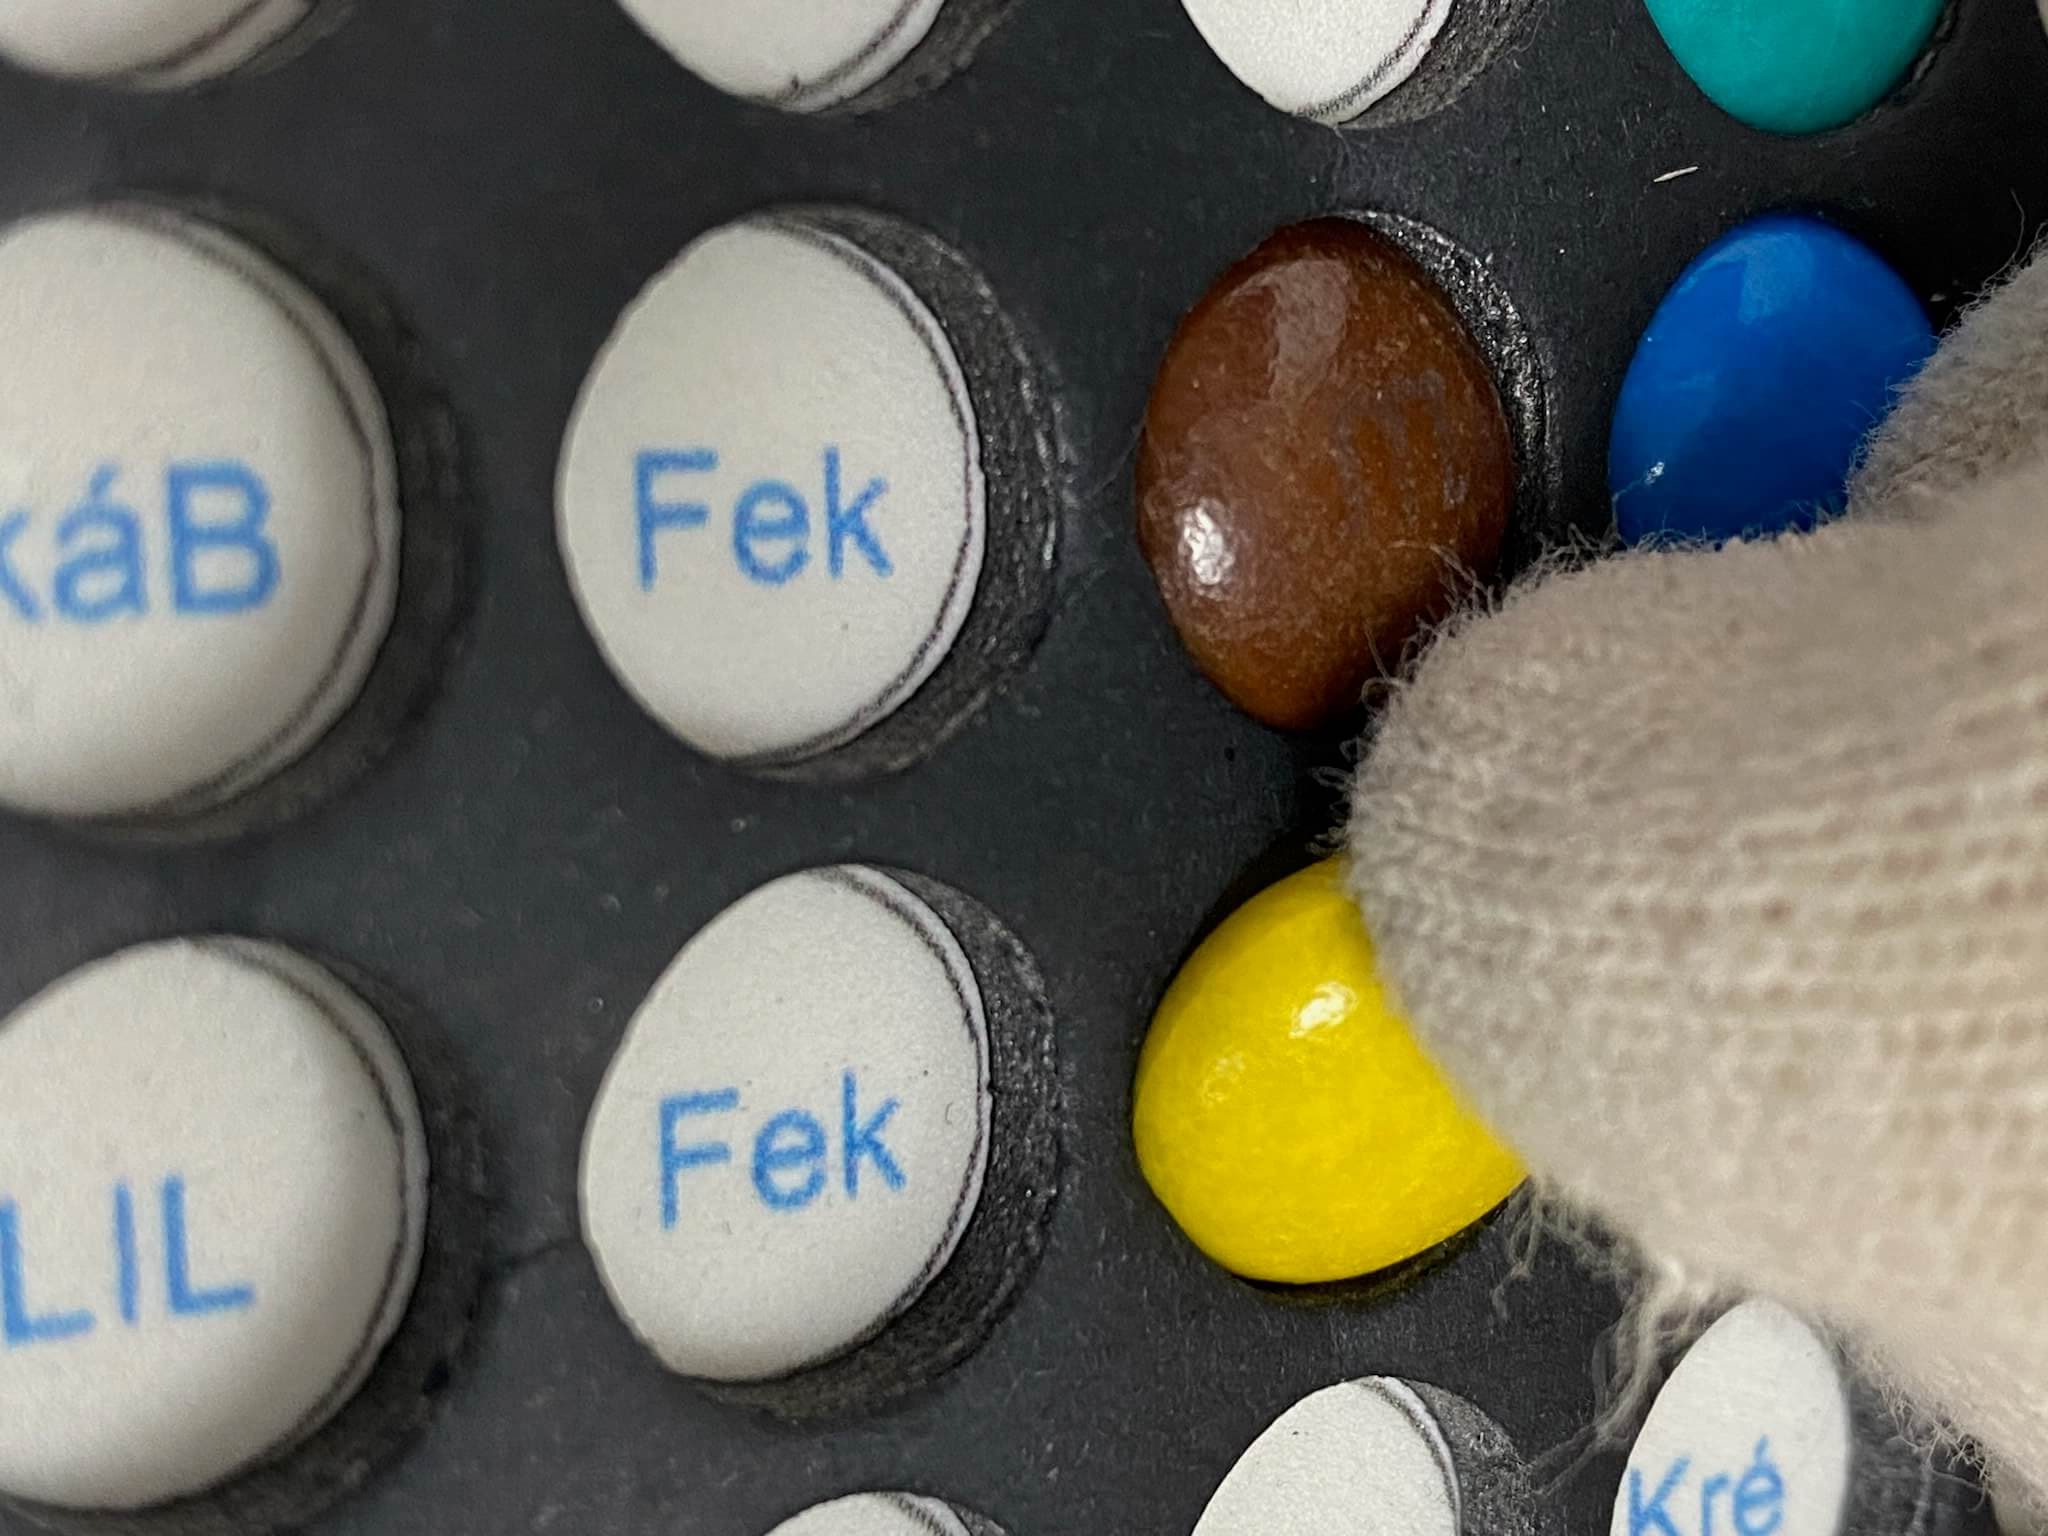
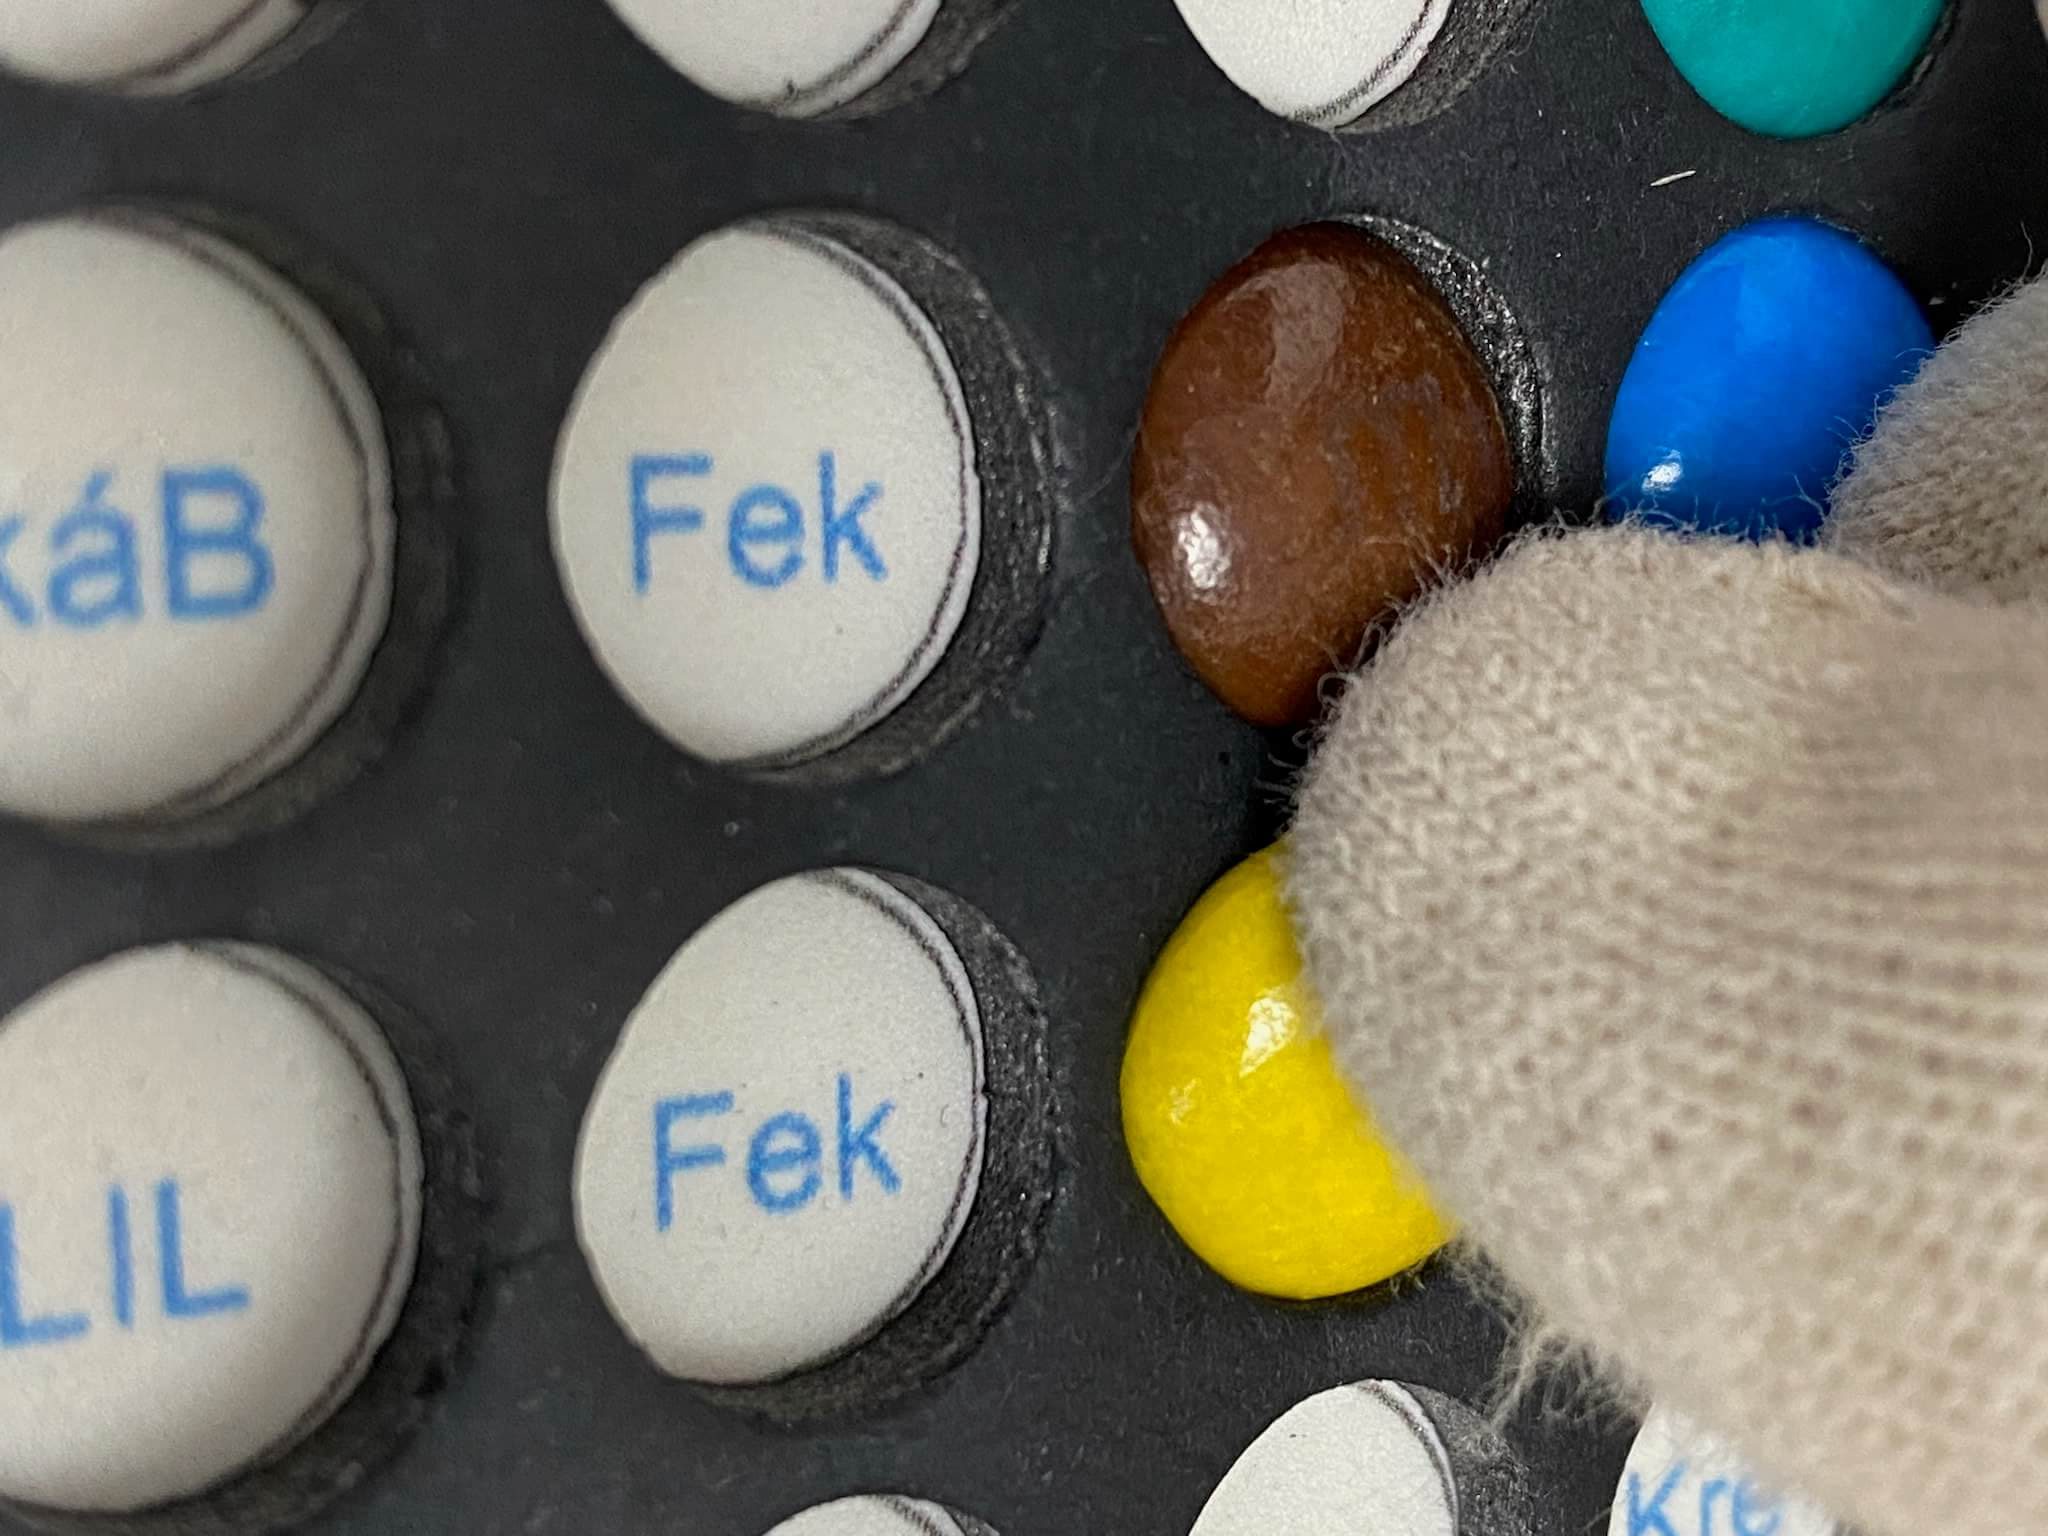
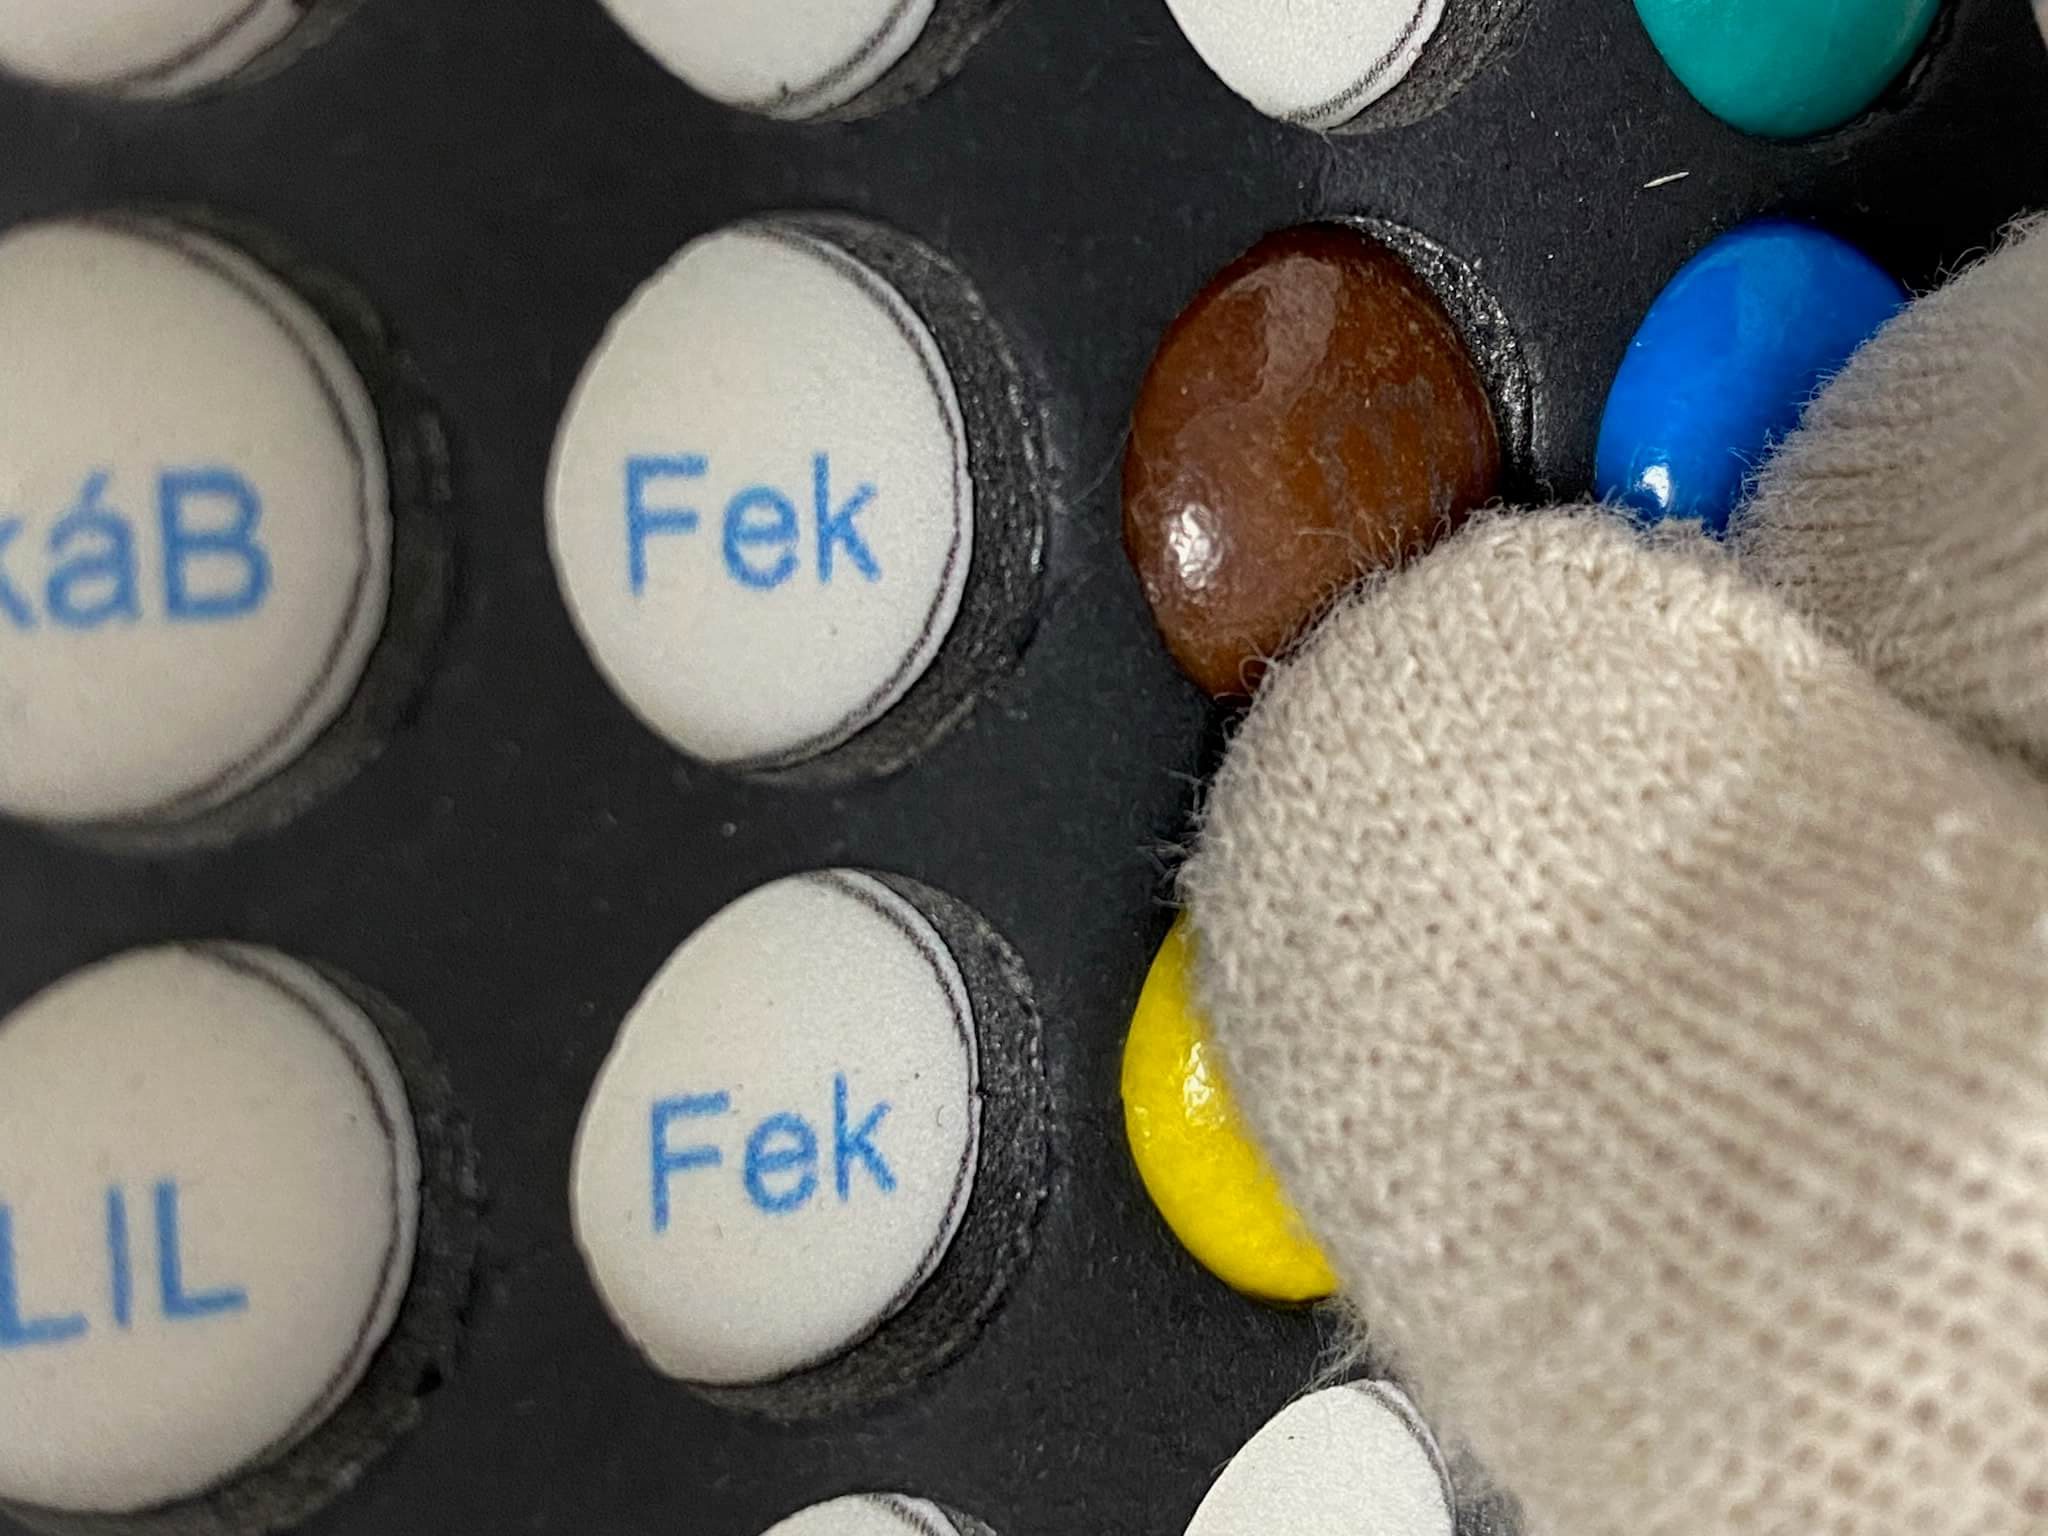
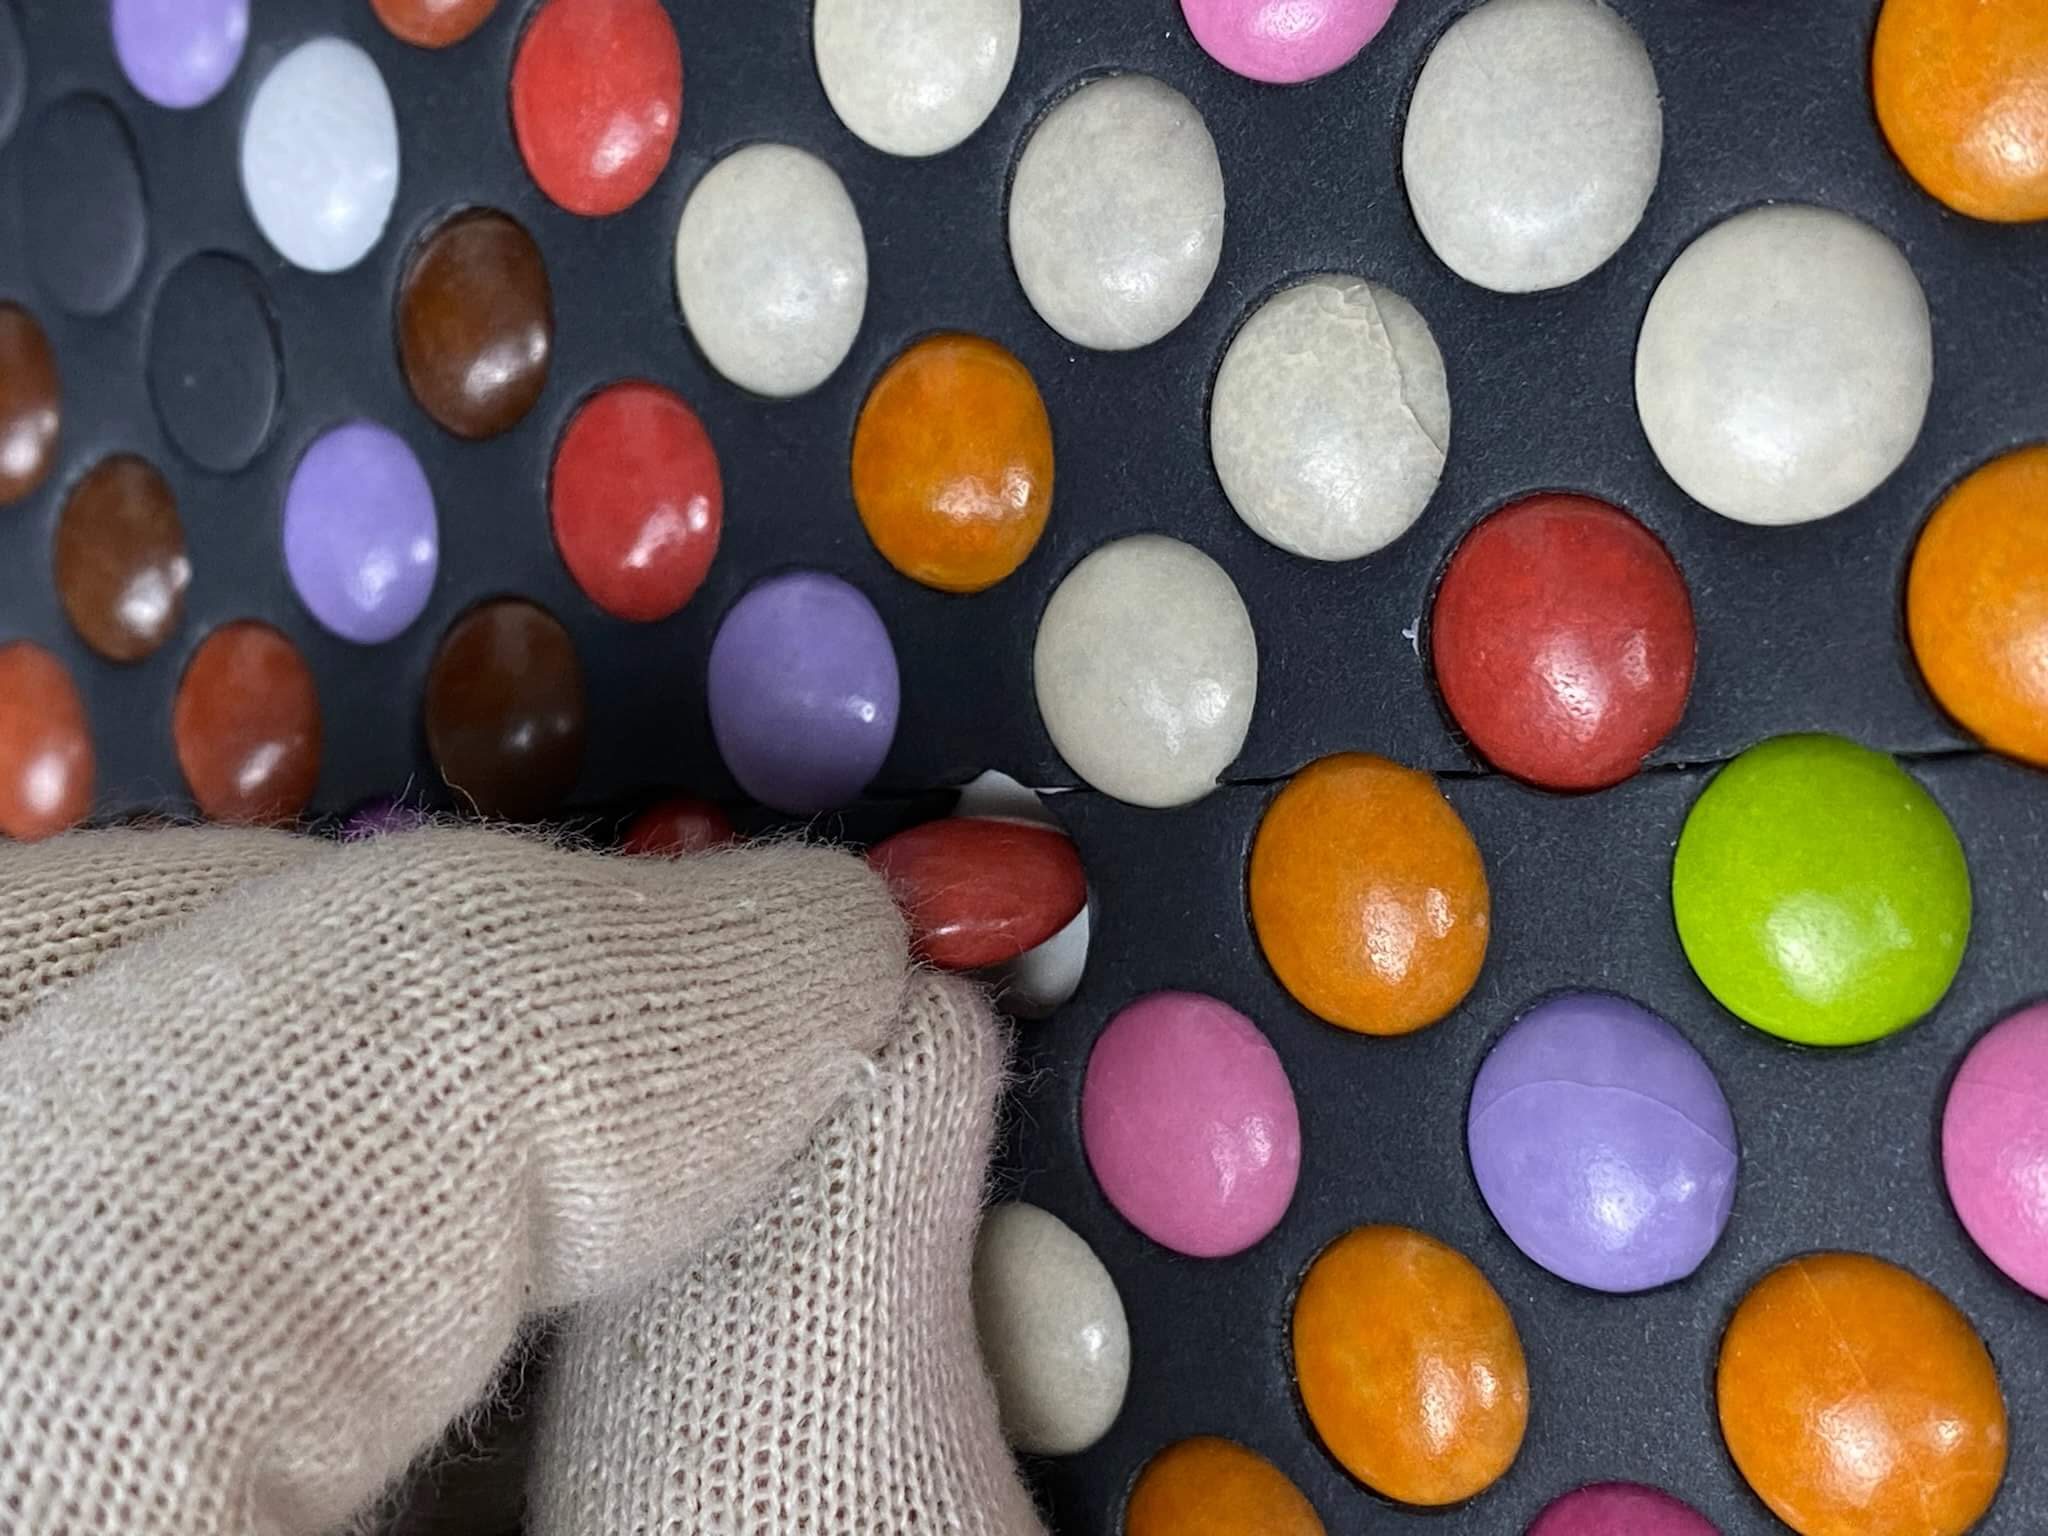
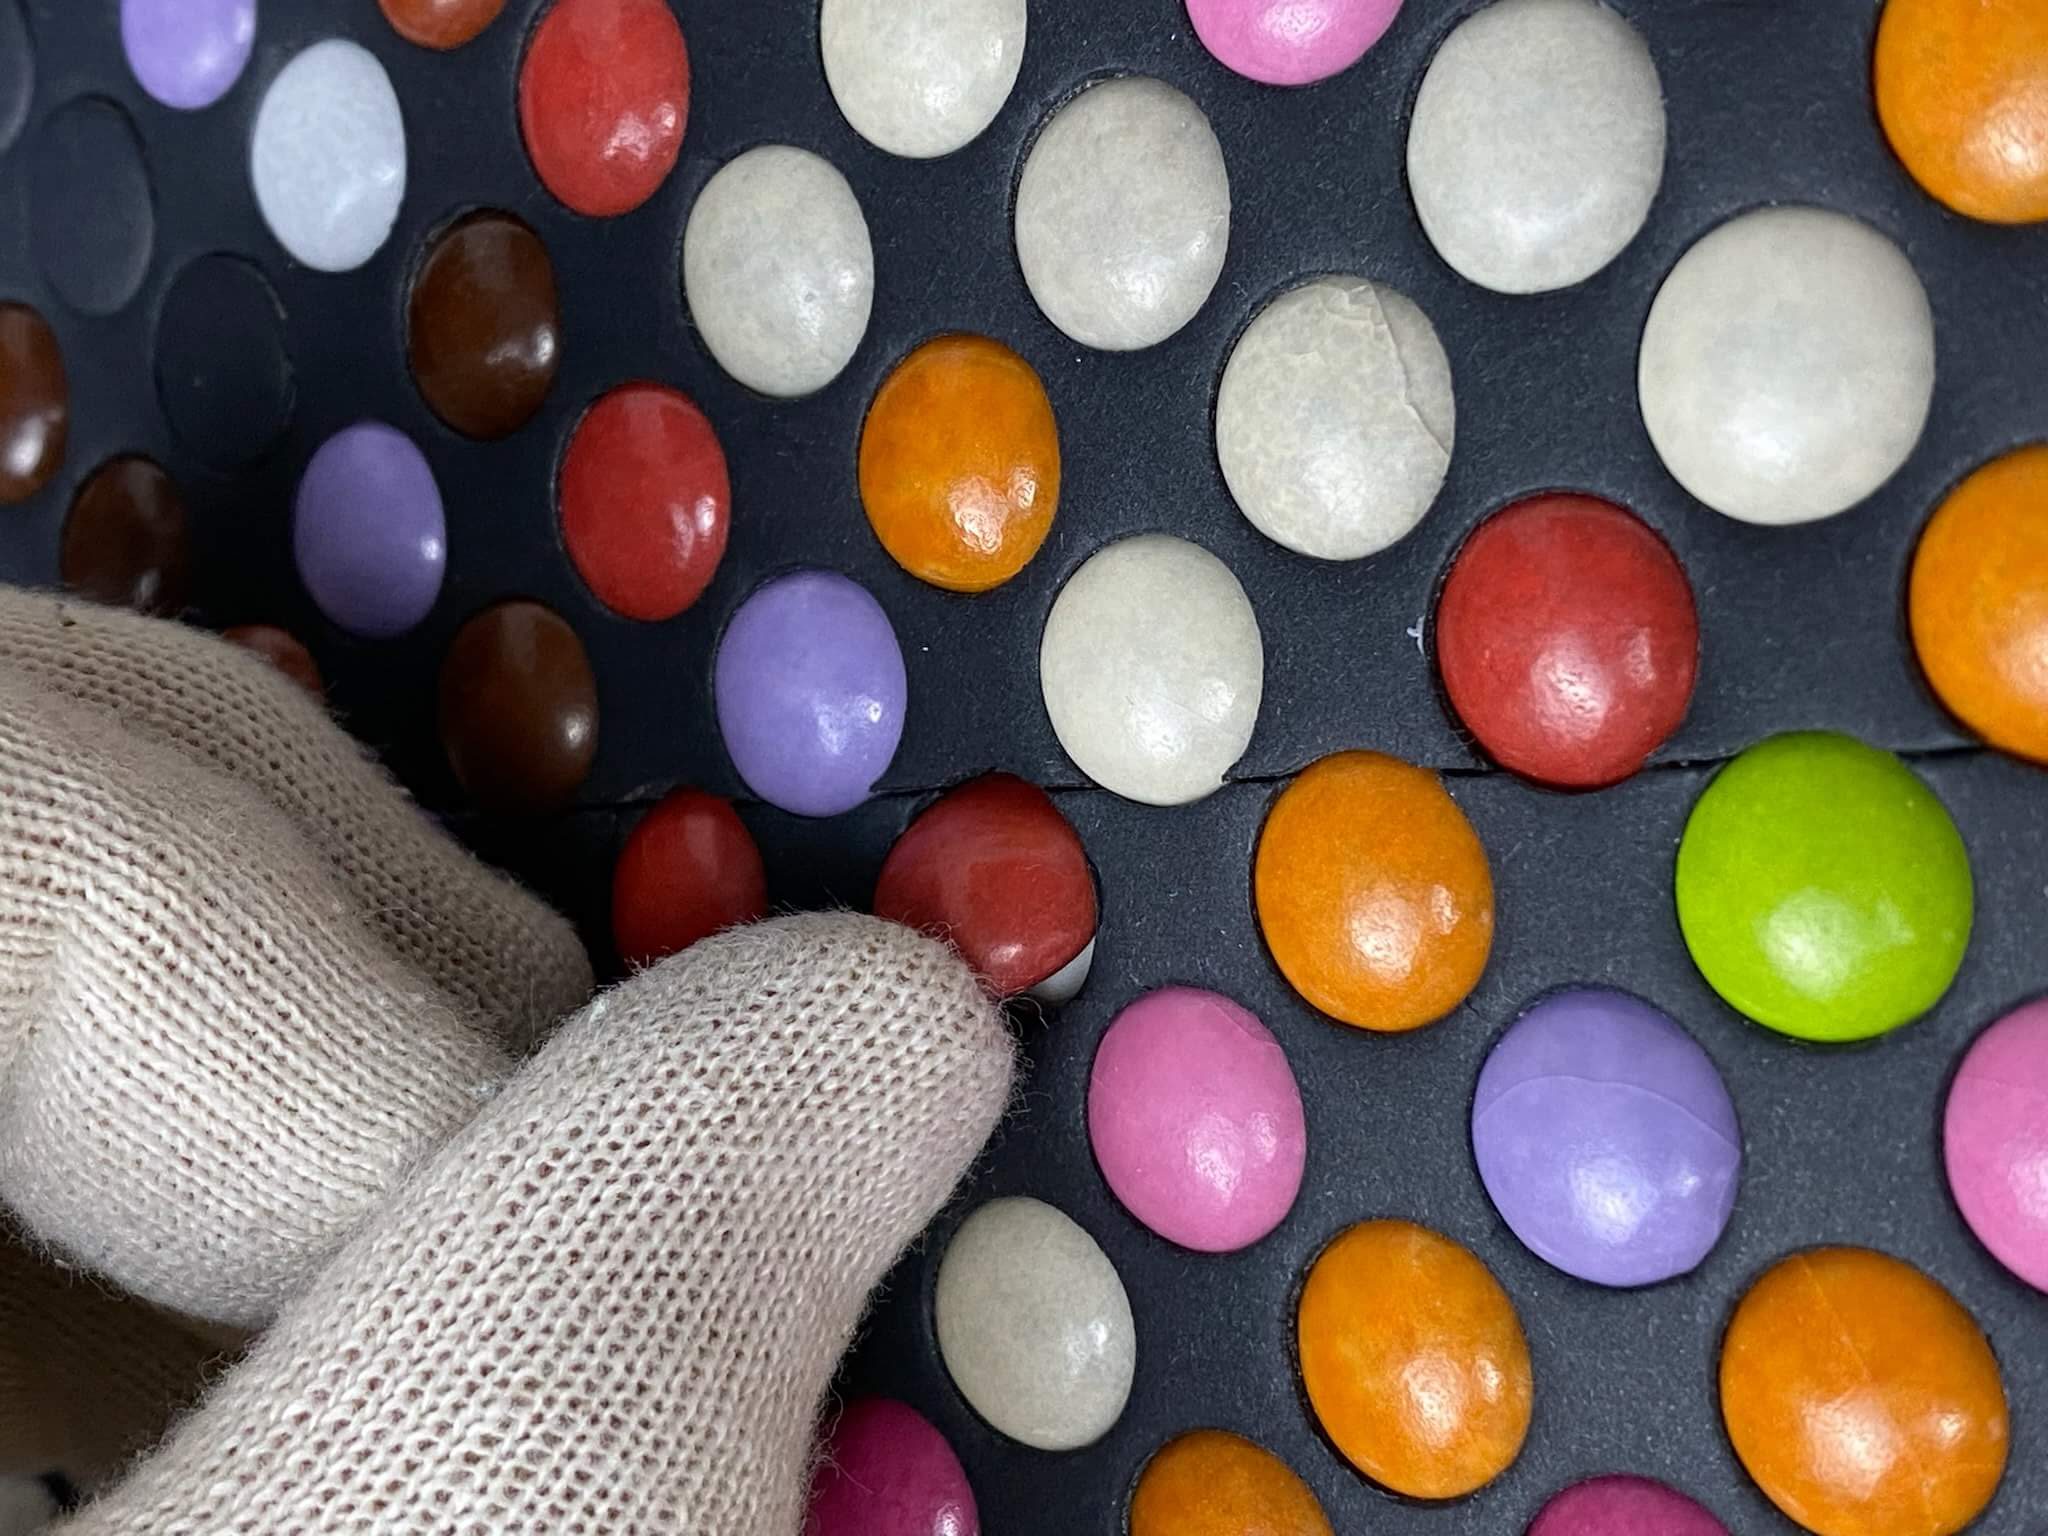
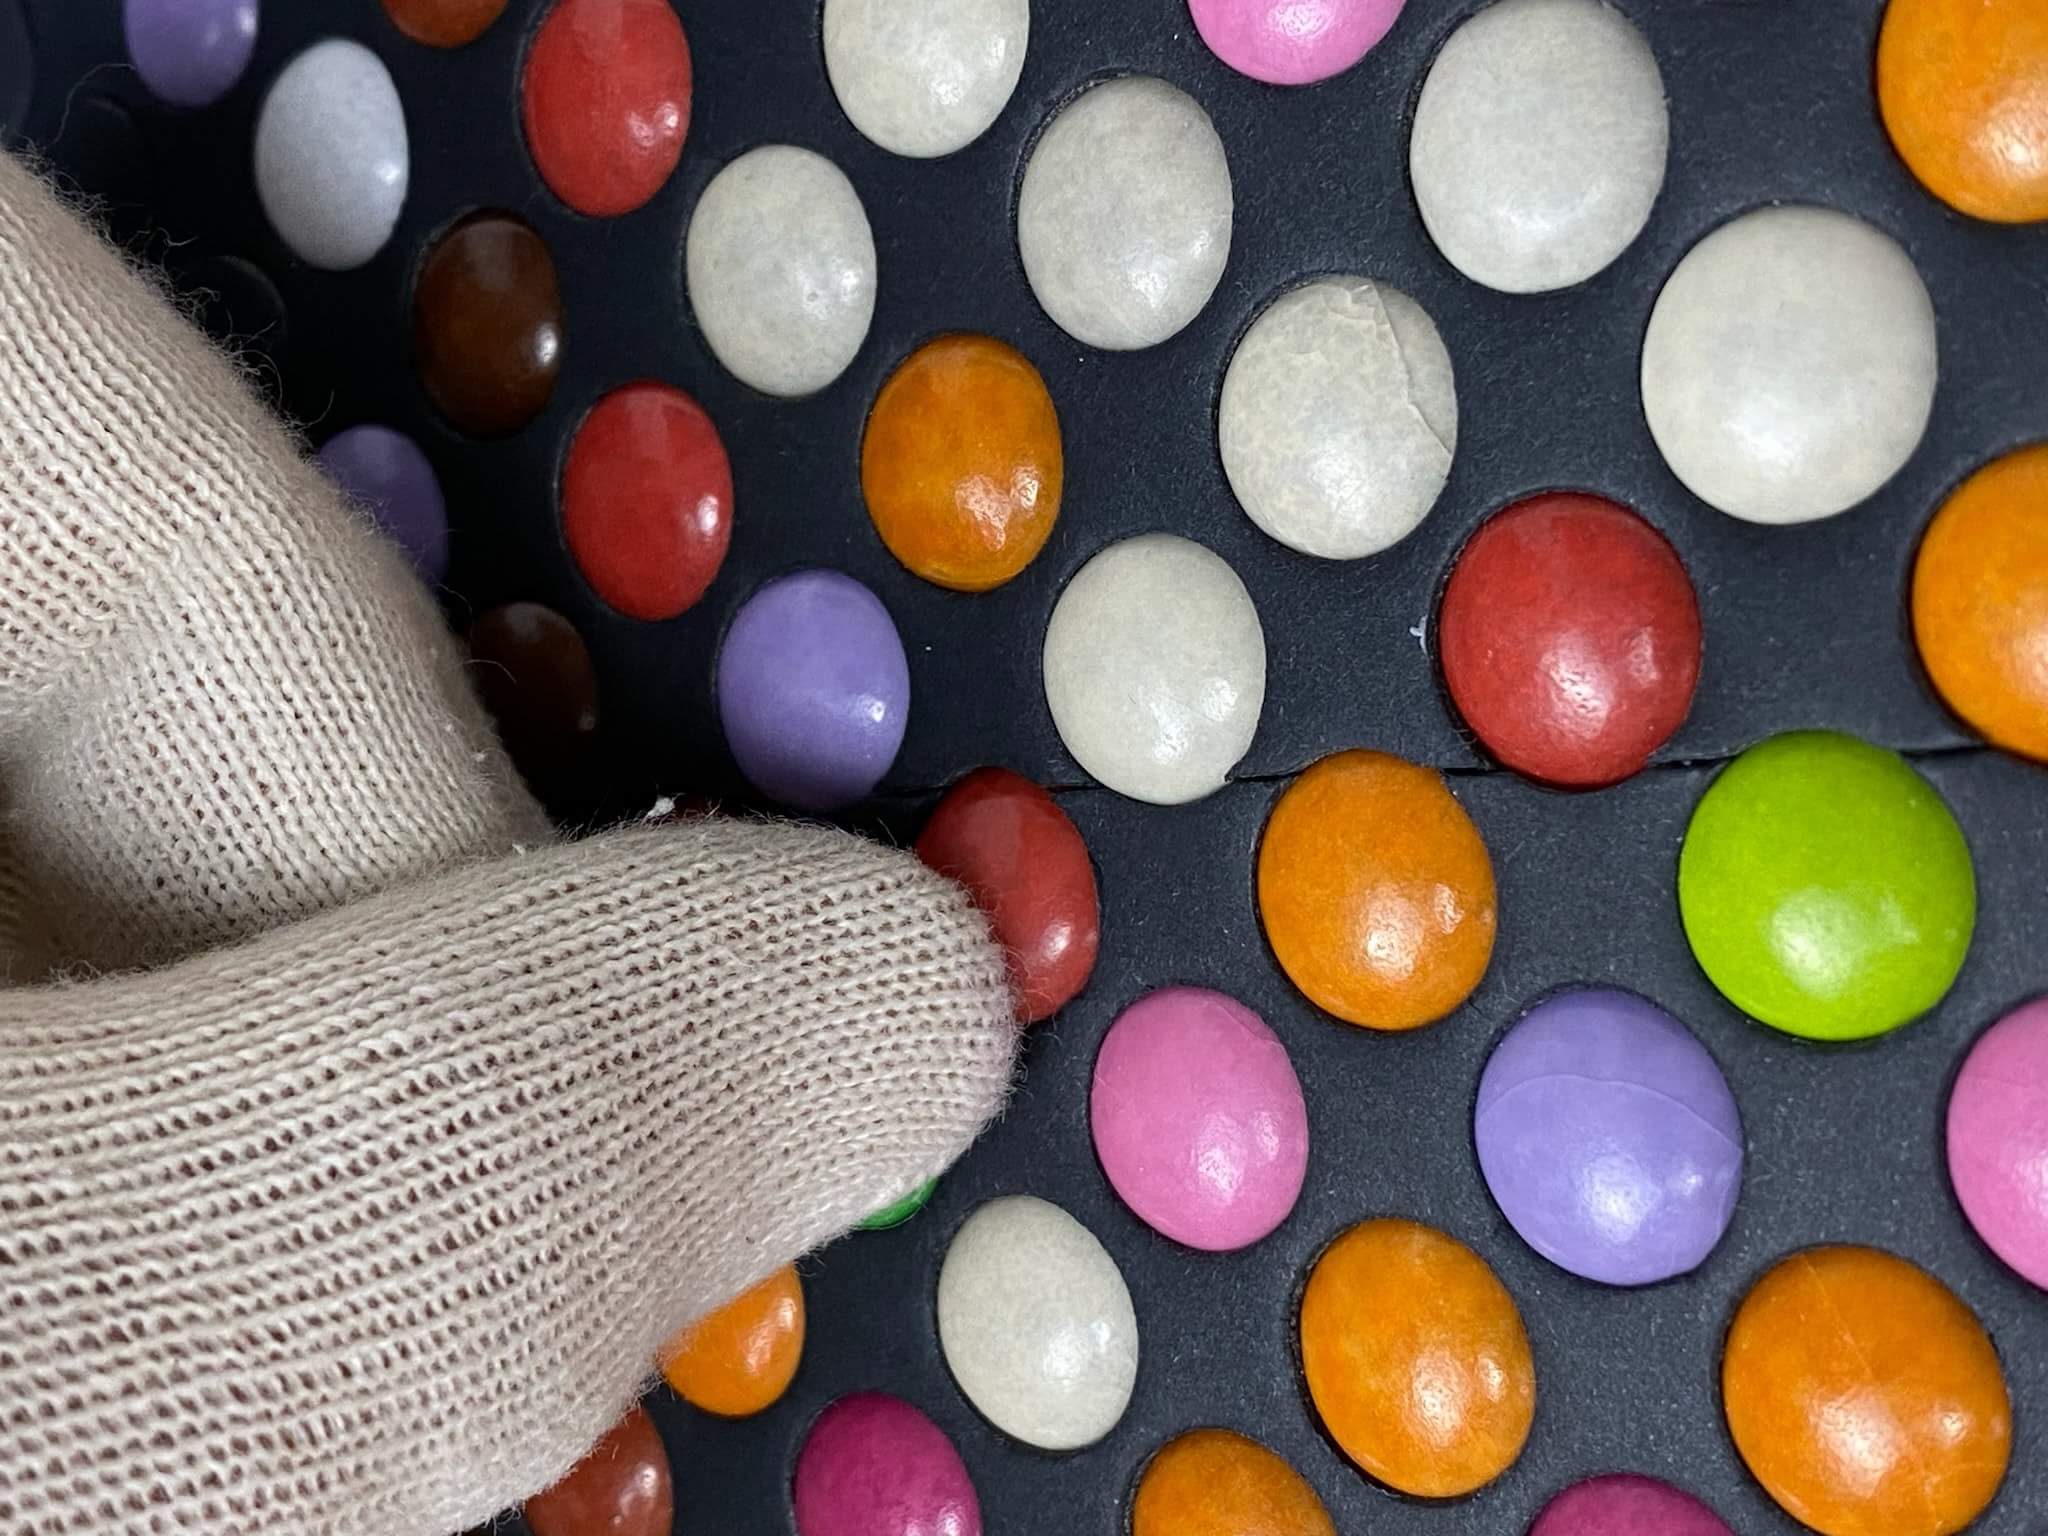
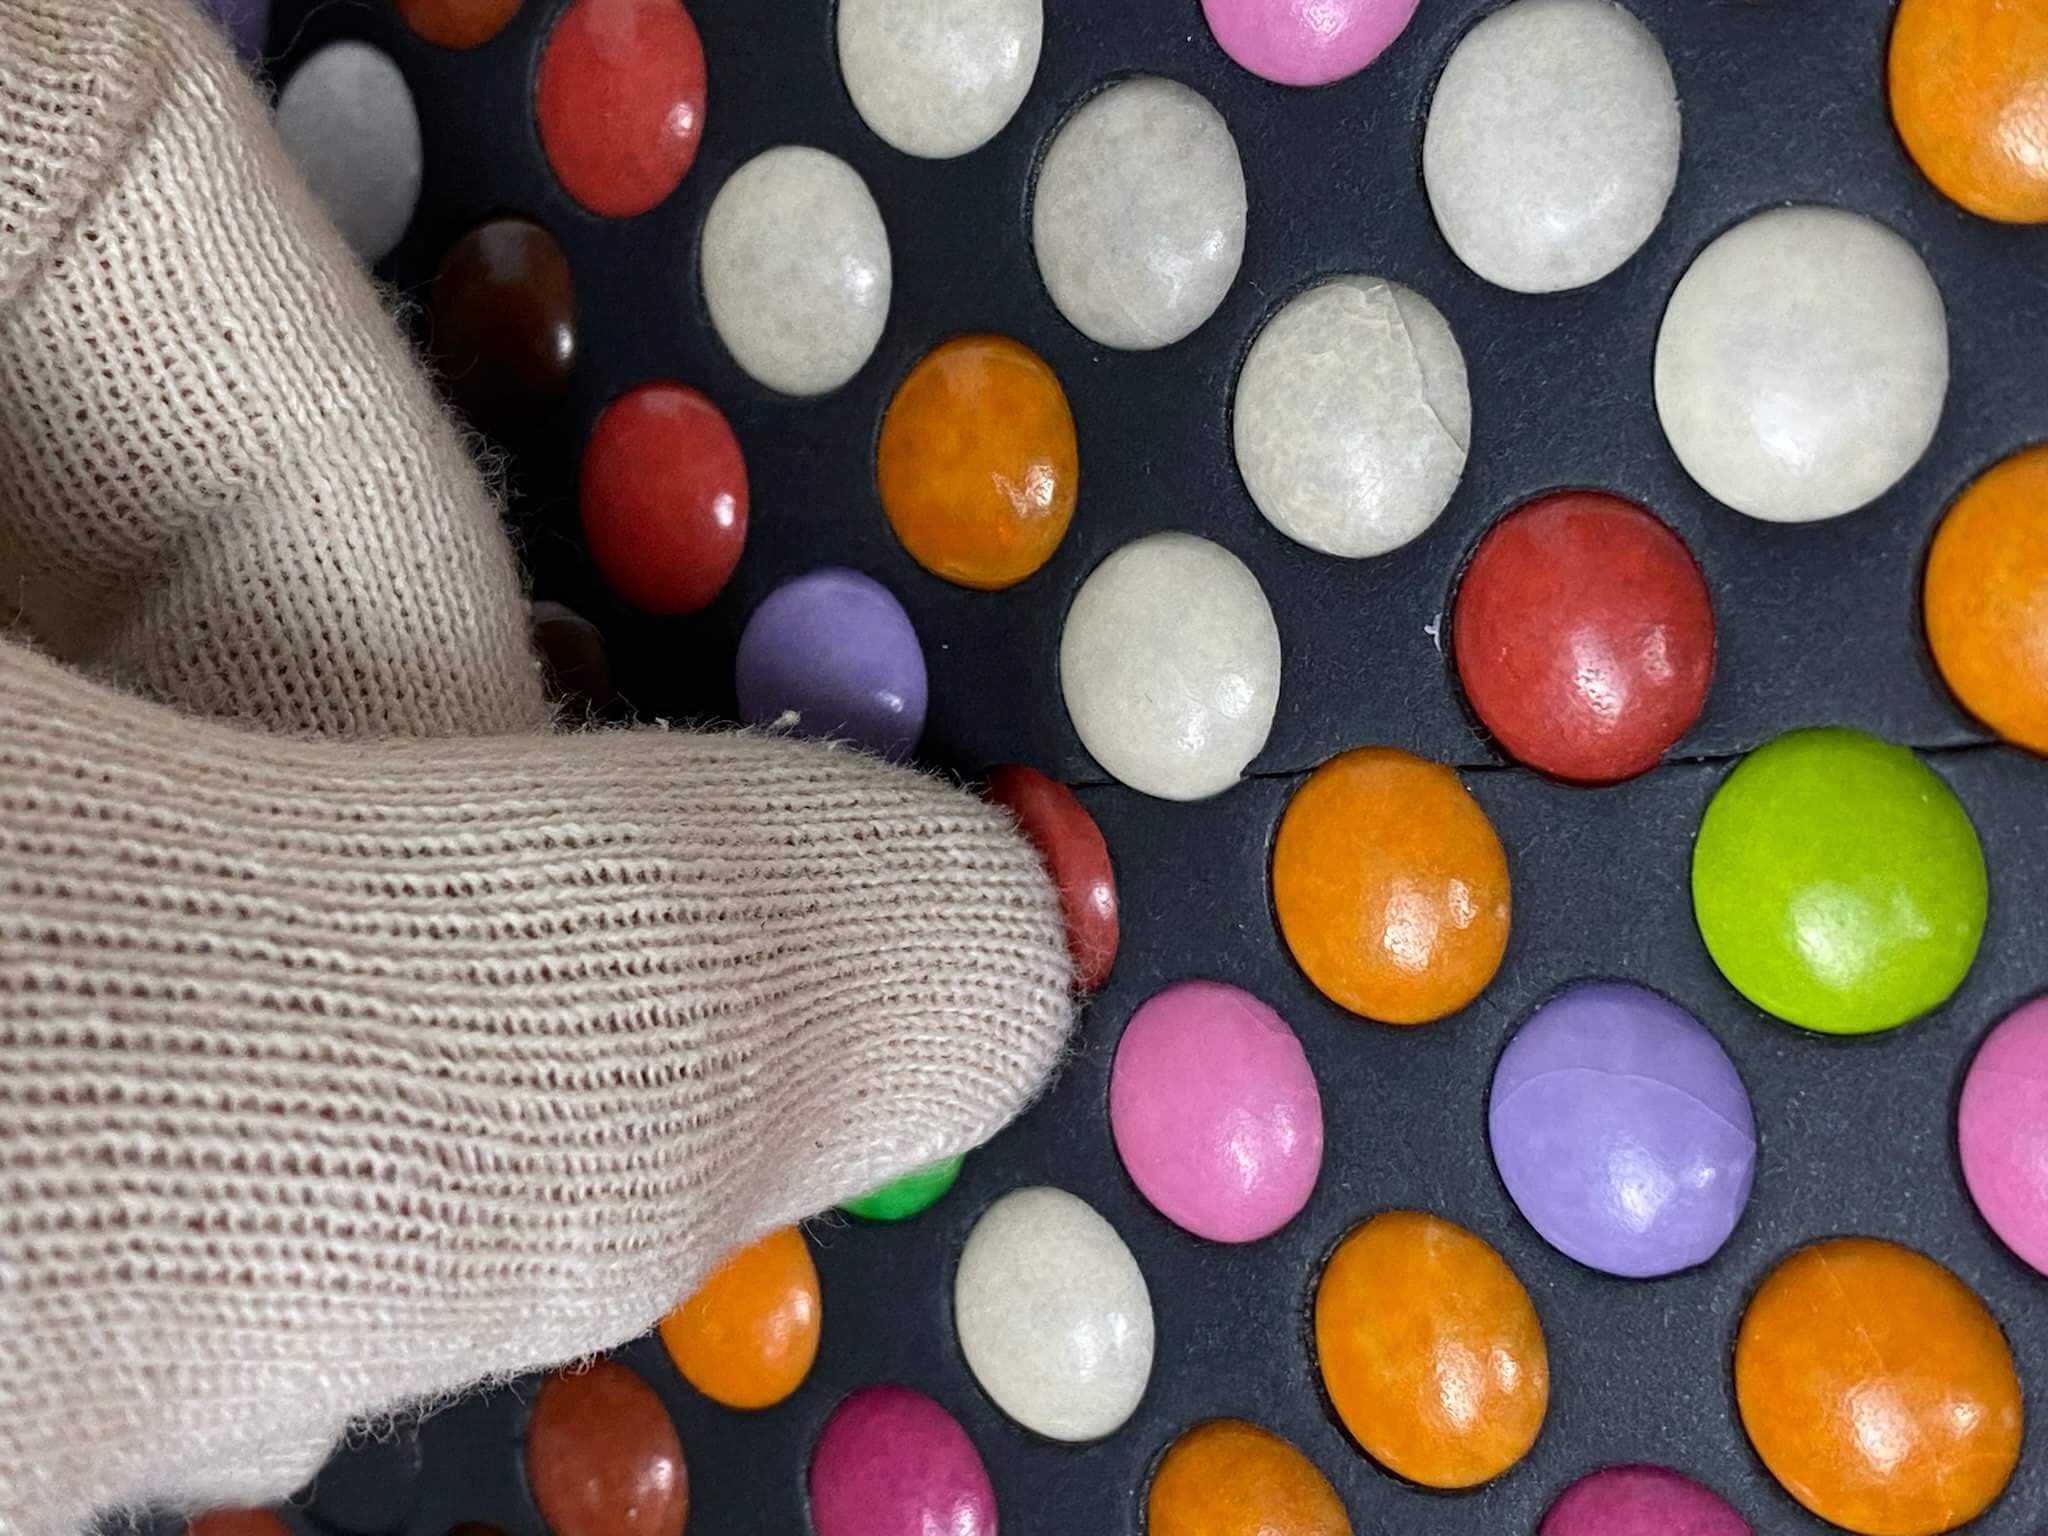
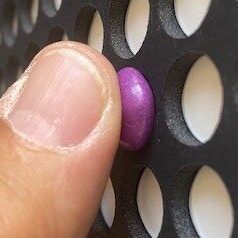
You place the dragee on the hole with your fingertip so that the dragee rests against the edges of the hole.
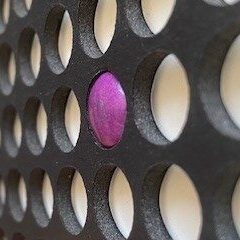
5
With a little pressure, you push the dressing into the hole perpendicularly.
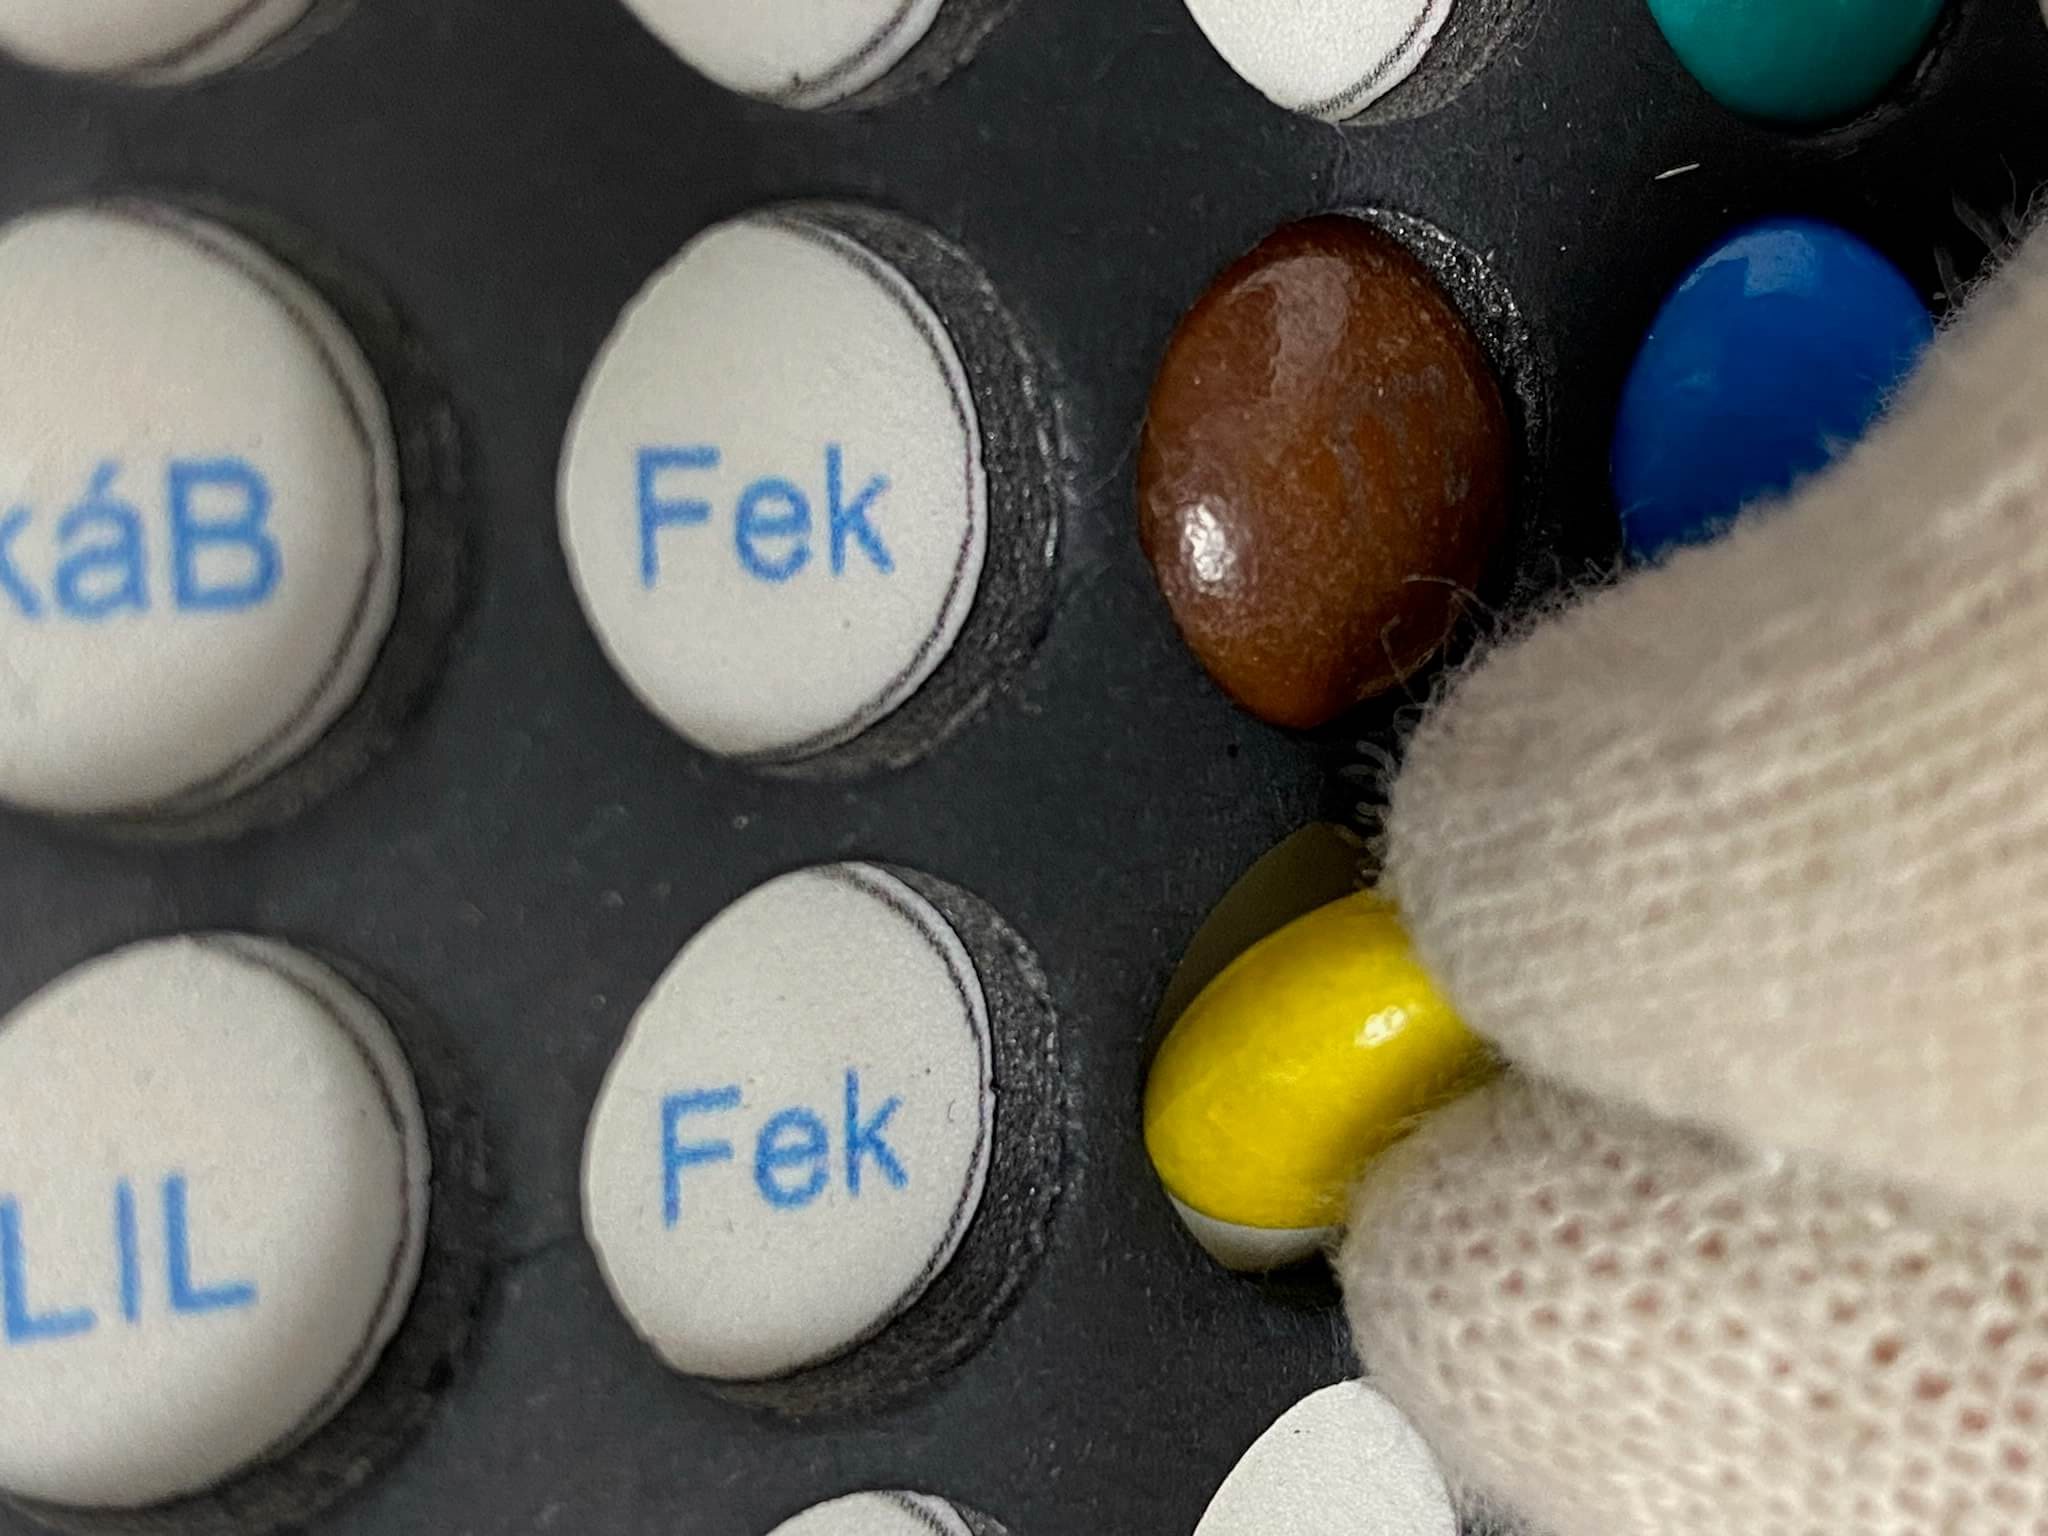
Inserting the dagees in a panel split. Here, the entire circle containing the dragees is divided into a smaller and a larger circle arc. (Two smaller and one larger arc at the corners)
- We first insert one edge of the dragee into the hole and put it against the smaller circular arc
- We push it a little toward the smaller arc
- and we push it into place.
Tipps
Always work with clean hands! Wash your hands with soap and dry thoroughly so that the dragees remain clean when you touch them. Work in thread gloves if possible!
Only use one dragee at a time! If you hold more in your hands, they can warm up from the heat of your hands, which can cause them to crack easily. Keep the dragees in a bowl and only take one out at a time.
Vacuum after the display under the picture! Remove the remaining sugar powder that forms when snapping in to avoid attracting ants.
It is important that the air in the place where the picture is hung is dry and the temperature always remains between 10 and 27 degrees Celsius.
Place the picture with dry hands! Sweaty or wet fingers can easily soften the sugar surface of the dragees, which can cause deformation and discoloration. Make sure that the dressings remain hard and resistant.
If possible, hang the picture in its final place. Place a clean towel underneath to avoid breaking the dragees when they are dropped.
For better durability, place the artwork on a wall, where it is never exposed to direct sunlight! This helps preserve the bright color of the dressings in the long term.